Overview
This article provides a step-by-step guide on how to edit email templates within the SDK for your AnswerHub community. It covers basic style changes, navigation to the necessary files, and how to test the changes made.
Information
Email templates can be edited within the SDK to fit the needs of your AnswerHub community. These edits can include both content and style changes. For this article, we will be doing our modifications in the "thub" theme folder.
To edit the code for these templates, it is suggested to use your preferred IDE such as Visual Studio Code, Atom, Dreamweaver, Eclipse, etc. Once you have downloaded and opened the SDK in your editor, follow the steps outlined below:
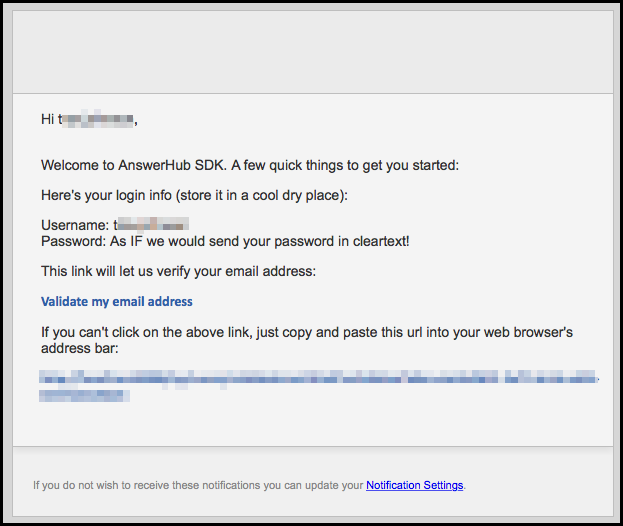
By default, this is what a standard "User Welcome" email looks like from the AnswerHub default template.
To customize your email template(s), follow these steps:
-
Navigate to the following path:
AnswerHub > plugins > thub-theme > src > main > resources > thub > notifications
-
Under the "notifications" folder open the file "base.ftl". Here you will find a FreeMarker file that contains a dynamic template for the styling of all emails that can be sent out. This is the file where it's recommended to do your styling edits. Changes to the wording of the notifications can be done within the individual template files.
As you can see, editing the styles can be done in a style tag within the <head> or inline with each element. Keep in mind, that when editing the inline styles of these templates that there are two different types.
Code that is placed within the "style" elements is edited just the same as normal CSS. Code defined outside the "styles" element such as "bgcolor" or "align" are HTML table element styling properties. Both of these inline style types follow the same overall syntax that CSS uses.HTML <table> element Inline Template Styles:
bgcolor="fff" align="center" width="600"
Regular inline CSS Styles
padding:10px 20px 25px 20px; font-family:Arial, Helvetica,
sans-serif; font-size:11px; color:#888;
- Within the same "notifications" folder you will find the templates for all potential email messages that can be sent via the AnswerHub platform. The file names are appropriately based on the type of content that will be sent.
NOTE: This tutorial is modifying the content of the "Welcome" email and can be accessed by opening the file "welcome.ftl" within the directory shown below.

addtogroup = You have been added to a group
answeraccepted = Your answer to a questions has been accepted.
asktoanswer = Another user in the community has asked you to answer a question
atusername = You have been mentioned by name in a question, article or knowledgebase entry.
expertnotify = Once you have earned the title of "Expert" within a topic, users are allowed to ask for your assistance via the "Ask a Expert Panel".
iteminmoderation = When posting to the community, your question, article or knowledgebase entry has been moved into the moderation queue for the moderator of the community to approve or disapprove.
newanswer = A new answer has been posted to the question that you asked or a question that you are following.
newcomment = A comment has been posted to the question, article or knowledgebase entry that you have composed or are following.
newfollower = Someone has started following your user account within the community.
newnode = A new question has been created on the site
newquestion = A question has been created in a space or topic that you follow.
newreply = A new reply has been posted to a article or knowledge-base entry.
questionedited = A question that you have composed has been modified by a moderator or admin.
templogin = When you forget your password, a temporary login can be initiated.
welcome = Used to welcome all new users to your community. Includes the users credentials (password shown if parameters met).
Within these files you will notice certain snippets of code that are written with FreeMarker syntax such as:
<p style="color:#333333;font-family:Arial, Helvetica, sans-serif;font-size:14px;margin-top:10px;">
<@trans key="thub.notifications.welcome.login.info" />:
</p>
The line of code above is creating a string of text inside the paragraph element that renders the value of "thub.notifications.welcome.login.info" from the theme properties file into this view. We will see how these values can be edited in our next step.
- To edit the text content that will render in our welcome notification we will need to access the theme properties in a file named "theme_i18n.properties.
This file can be located in the theme's root folder (AnswerHub > plugins > thub-theme > src > main > resources > thub). The properties are separated by language. The "theme_i18n.properties" file is all in English and is our default properties file.
-
Open the file "theme_i18n.properties" which resides under the root of the "thub-theme" folder. Within this file we can locate and modify any data or strings of text being rendered to our email notifications. To correlate the data we will need to look into the notification template we would like to modify, such as "welcome.ftl".
In the screenshot below you can see that I've pointed out where our opening line in our email resides.
As we navigate back to the "i18n.properties" file we can find where the "thub.notifications.welcome.description" will reside.
Click Edit > Find. In the search field, enter "thub.notifications.welcome.description". This will bring us to the section where the welcome notification text is being stored and can be edited. The line of code I am referring to will look like this:
thub.notifications.welcome.description=Welcome to {0}. A few
quick things to get you started:
We can now edit the message to our own preference. For instance:
thub.notifications.welcome.description=Hello and welcome to
the {0} community! Before you get started let's go over a few things.
NOTE: The parameters of "{0}" or "{1}", are tied to the name of the site and users associated with the community, space or posting. This depends on the content being rendered to the user via the notifications. Delete these items at your discretion.
Now, we can navigate to the Admin Panel to test any edits that have been made to the "User Welcome" template .
- In the Admin Panel navigate to Users and Groups Manage Users
- Search for your user name and click on the result in the search field.
- Next to your email address in this menu, click "resend validation email". The email will be sent immediately and you will be able to preview the results of your changes.
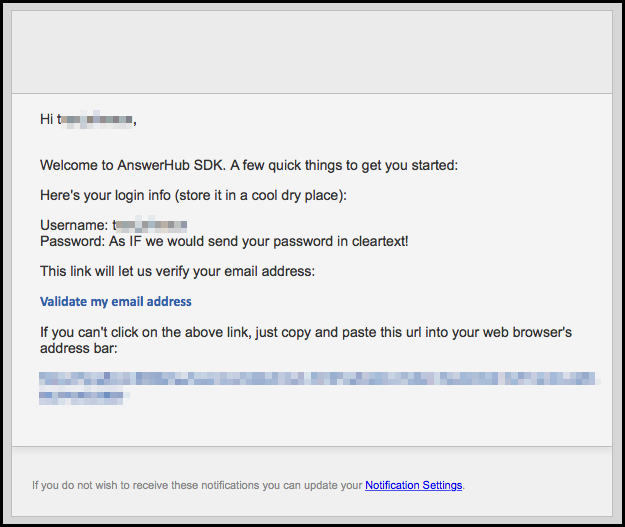
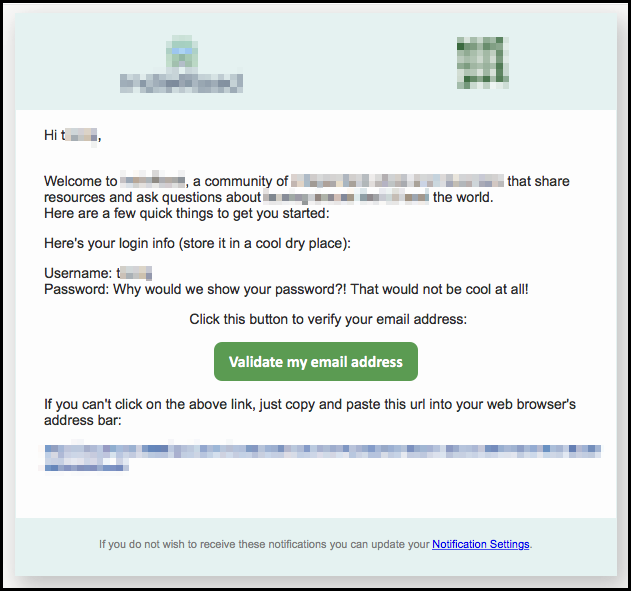
Below is an example of a uniquely styled "User Welcome" email template that was created compared to the original:
BEFORE
AFTER


Priyanka Bhotika
Comments