Overview
You can create, edit, and view certain site notification details from the Site Notifications pane of your Administrator Dashboard. When activated, the notifications display in the AnswerHub User Interface (UI). In this article, we are going to learn how to create a sticky site-wide notification from the Administration panel.
Information
You may need to create a site-wide message in order to alert your community of something specific such as site maintenance or a contest. These messages can be seen by a user upon logging in, and can even be customized to start and end at different dates and times.
To create site-wide notifications, follow these steps:
- From the Site section of the Administrator Dashboard, select Site Notifications from the Notifications menu of the Navigation sidebar.
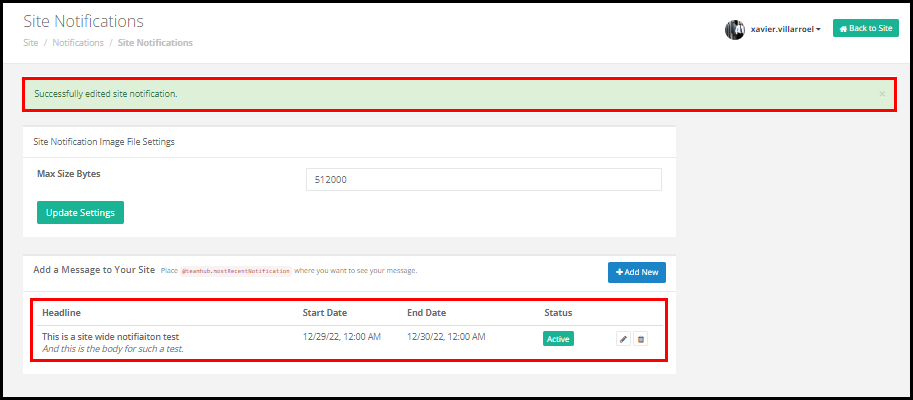
The Site Notifications pane is displayed.
- Above the table, click the Add New button.
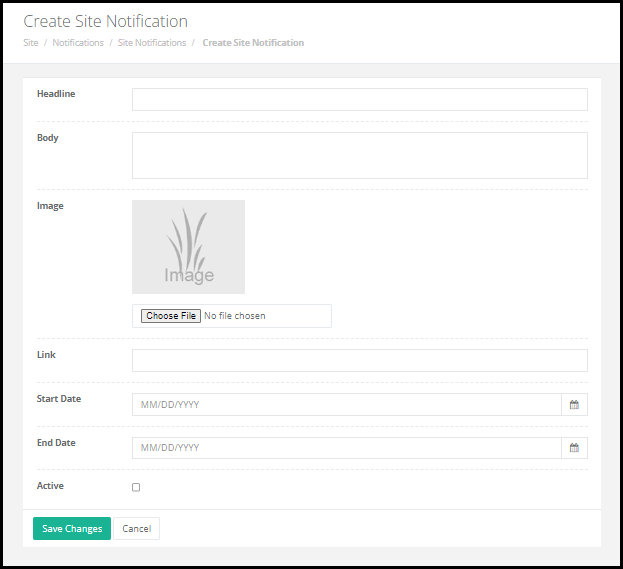
The Create Site Notification pane is displayed.
- Enter the required information in the following fields:
- Headline: The headline you want to be displayed at the top of the site notification.
- Body: The content that you want to be displayed in the main body of the site notification.
- Image: The image you want to show in the notification.
- Link: Enter a link destination to be added to the headline of the site notification. To add an external link, be sure to add the complete address of the destination site. If http:// is left out of the external link, the site will attempt to navigate to an internal site with that name. For Example: If you add a link to google.com, instead of http://www.google.com, then when a user clicks the headline they will be navigated to www.[youranswerhubsite].com/google.com.
- Start Date: The day when this notification is going to be shown in the AnswerHub instance.
- End Date: The day when this notification will stop being shown in the AnswerHub instance.
- Active: Tick this box if you want to activate this notification. Untick it if you want to stop showing it. Even if the current date is within the set date range, if this box is not checked, the site notification will not be displayed.
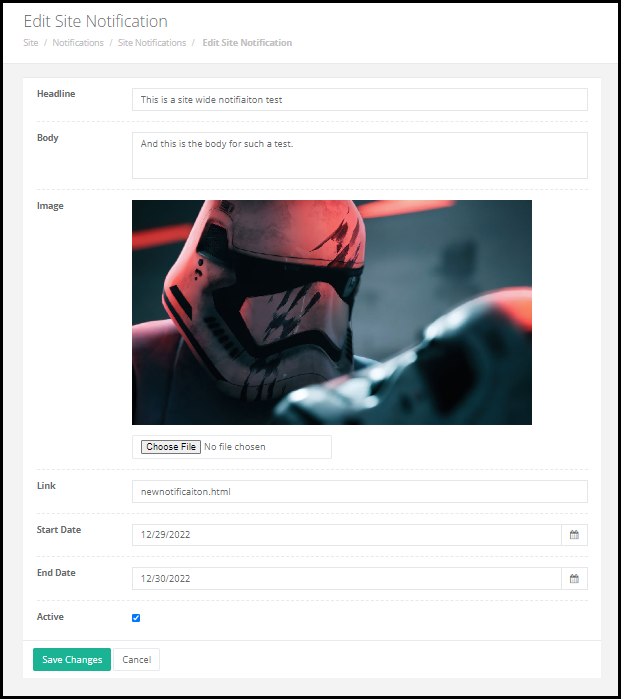
- Click the Choose File button to select an image that will be displayed with the site notification.
- Click the Save button.
A green bar that reads Successfully added new site notification. is displayed at the top of the Create Site Notifications pane.
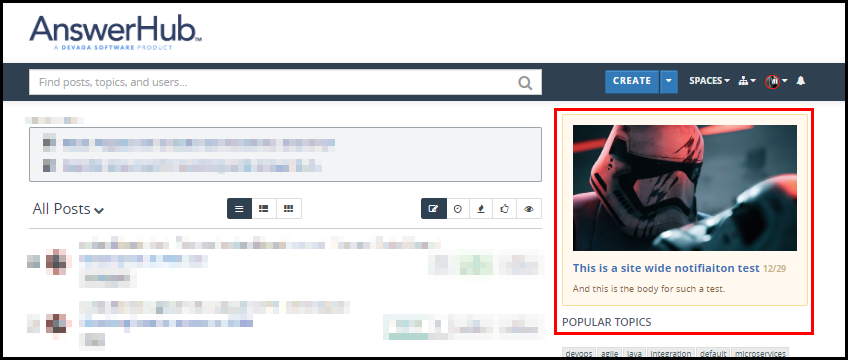
Certain features of this notification system can change slightly depending on the theme you are using. With the default theme, an active site notification is displayed in the AnswerHub User Interface (UI). Once you go back to the regular AnswerHub site, you will be able to see the Site-Wide notification you just created:


Priyanka Bhotika
Comments