Overview
The recommended way to use permissions on the AnswerHub platform is by granting or revoking group permissions to create archetypes that you can then assign users to. However, there are always exceptions, and you may eventually need to assign permissions directly to a user. In this article, we are going to review how to grant or revoke user permissions.
Information
Before you continue, you have to bear in mind that you must be a member of the default Super User group or have the Edit permissions permission granted as a user in order to grant and revoke permissions.
To grant or revoke permissions for an individual user, follow these steps:
- In the top right corner of any AnswerHub page, click your Avatar icon and from the dropdown
menu, select Administration.
The Dashboard tab of the AnswerHub Administrator Dashboard will be displayed
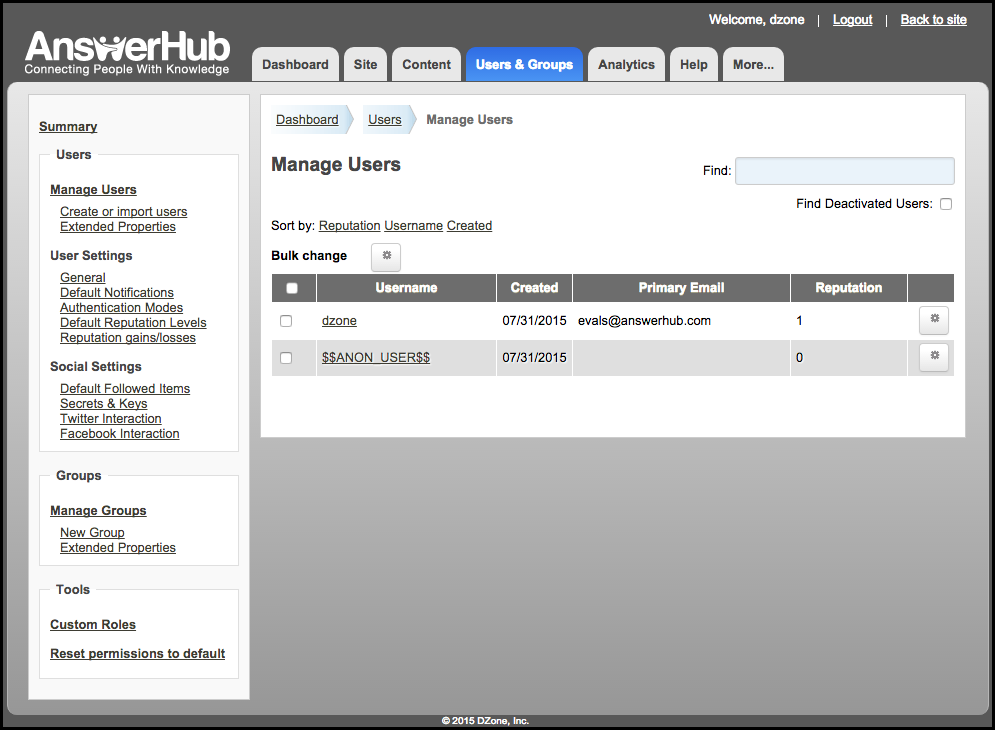
- Select the Users & Groups tab at the top of the page.
Users & Groups Summary will be displayed on the main page.
- In the Groups box, click Manage Users.
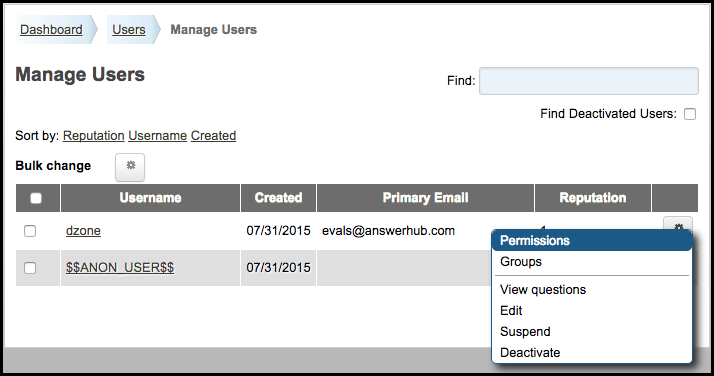
- In the table, find the Username of the user you want to grant or revoke permissions to, and in the far right column of that row, click the Gear icon and in the drop-down menu select permissions.
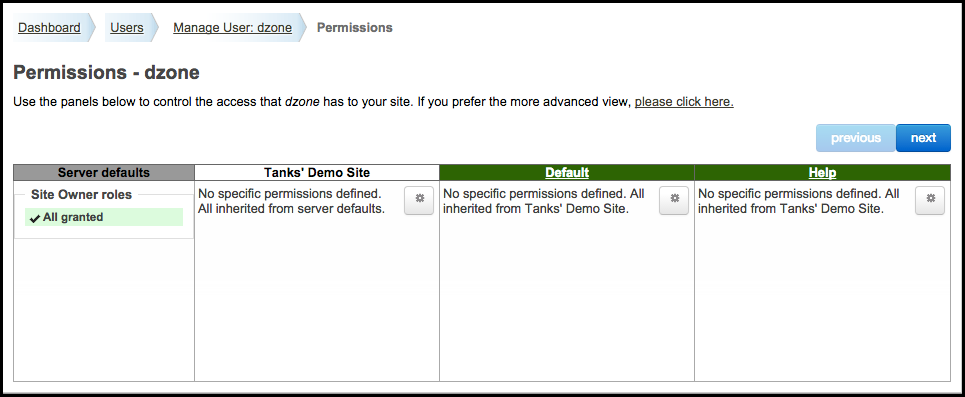
The Permissions – [Selected Group] screen will be displayed.
There are 3 types of columns displayed. The grey column is server-level permissions, the white is site-level permissions, and the green is space-level permissions.
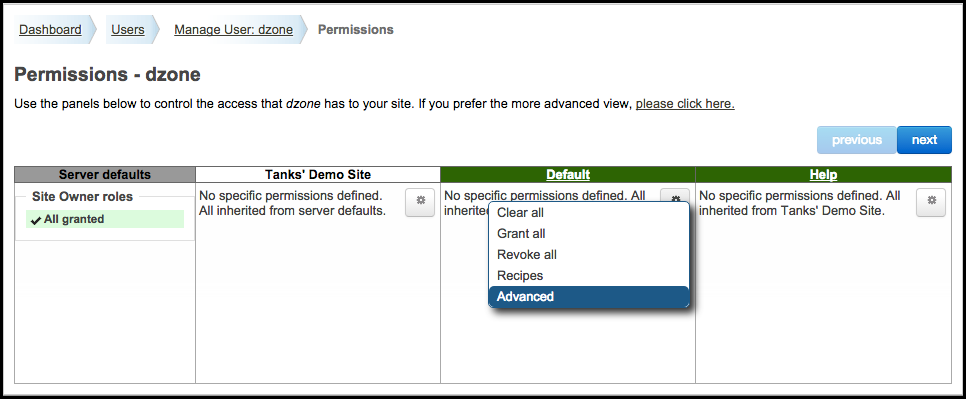
- To add either site- or space-level permissions, click the Gear icon in the corresponding column and select Advanced.
The Advanced editor is displayed.
Note on Sub-Spaces: If you need to set sub-space permissions, click on the name of the parent space. That space will replace the site column and any nested spaces (sub-spaces) will display in the green columns. From there, the rest of the steps are the same as with site-level and space-level permissions.
- To assign or revoke permissions, click the Status drop-down menu in the corresponding row and
select one of the following:
- Grant: Assigns the selected permission to the group for the selected site, space, or subspace (depending on which column you selected in step 5).
- By Reputation: When you select this option, a box is displayed in the reputation column. Enter the number of reputation points that a user must have in order to be assigned this permission.
For example, If you enter 10 in this box a group member must have a reputation that meets or exceeds 10 in order to be assigned this permission automatically.
- Revoke: Removes a previously granted or null (unset) permission.
If the border of the drop-down permission box is a different color than the fill color, that means that some permissions were inherited from elsewhere but are being overridden for the selected site, space, or subspace.
Remember that whichever text, “Revoked” or “Granted,” is displayed in the box is the current state of the overridden permission in the selected space.
For example, If the border is green and the fill color is red ( ), the permission had been
granted at a higher level in the AnswerHub Hierarchy, but is revoked at the current level.
- Grant: Assigns the selected permission to the group for the selected site, space, or subspace (depending on which column you selected in step 5).
- Click OK.
The granted, revoked, or by-reputation permissions are displayed in the column you selected in step 5.
- Click Back to site at the top right of the page to return to the home screen.
Priyanka Bhotika
Comments